A course is a self-paced online program containing modules or chapters with various types of learning material. Trainees can study at their own pace and on their own schedule.
Step 1: Create the Course
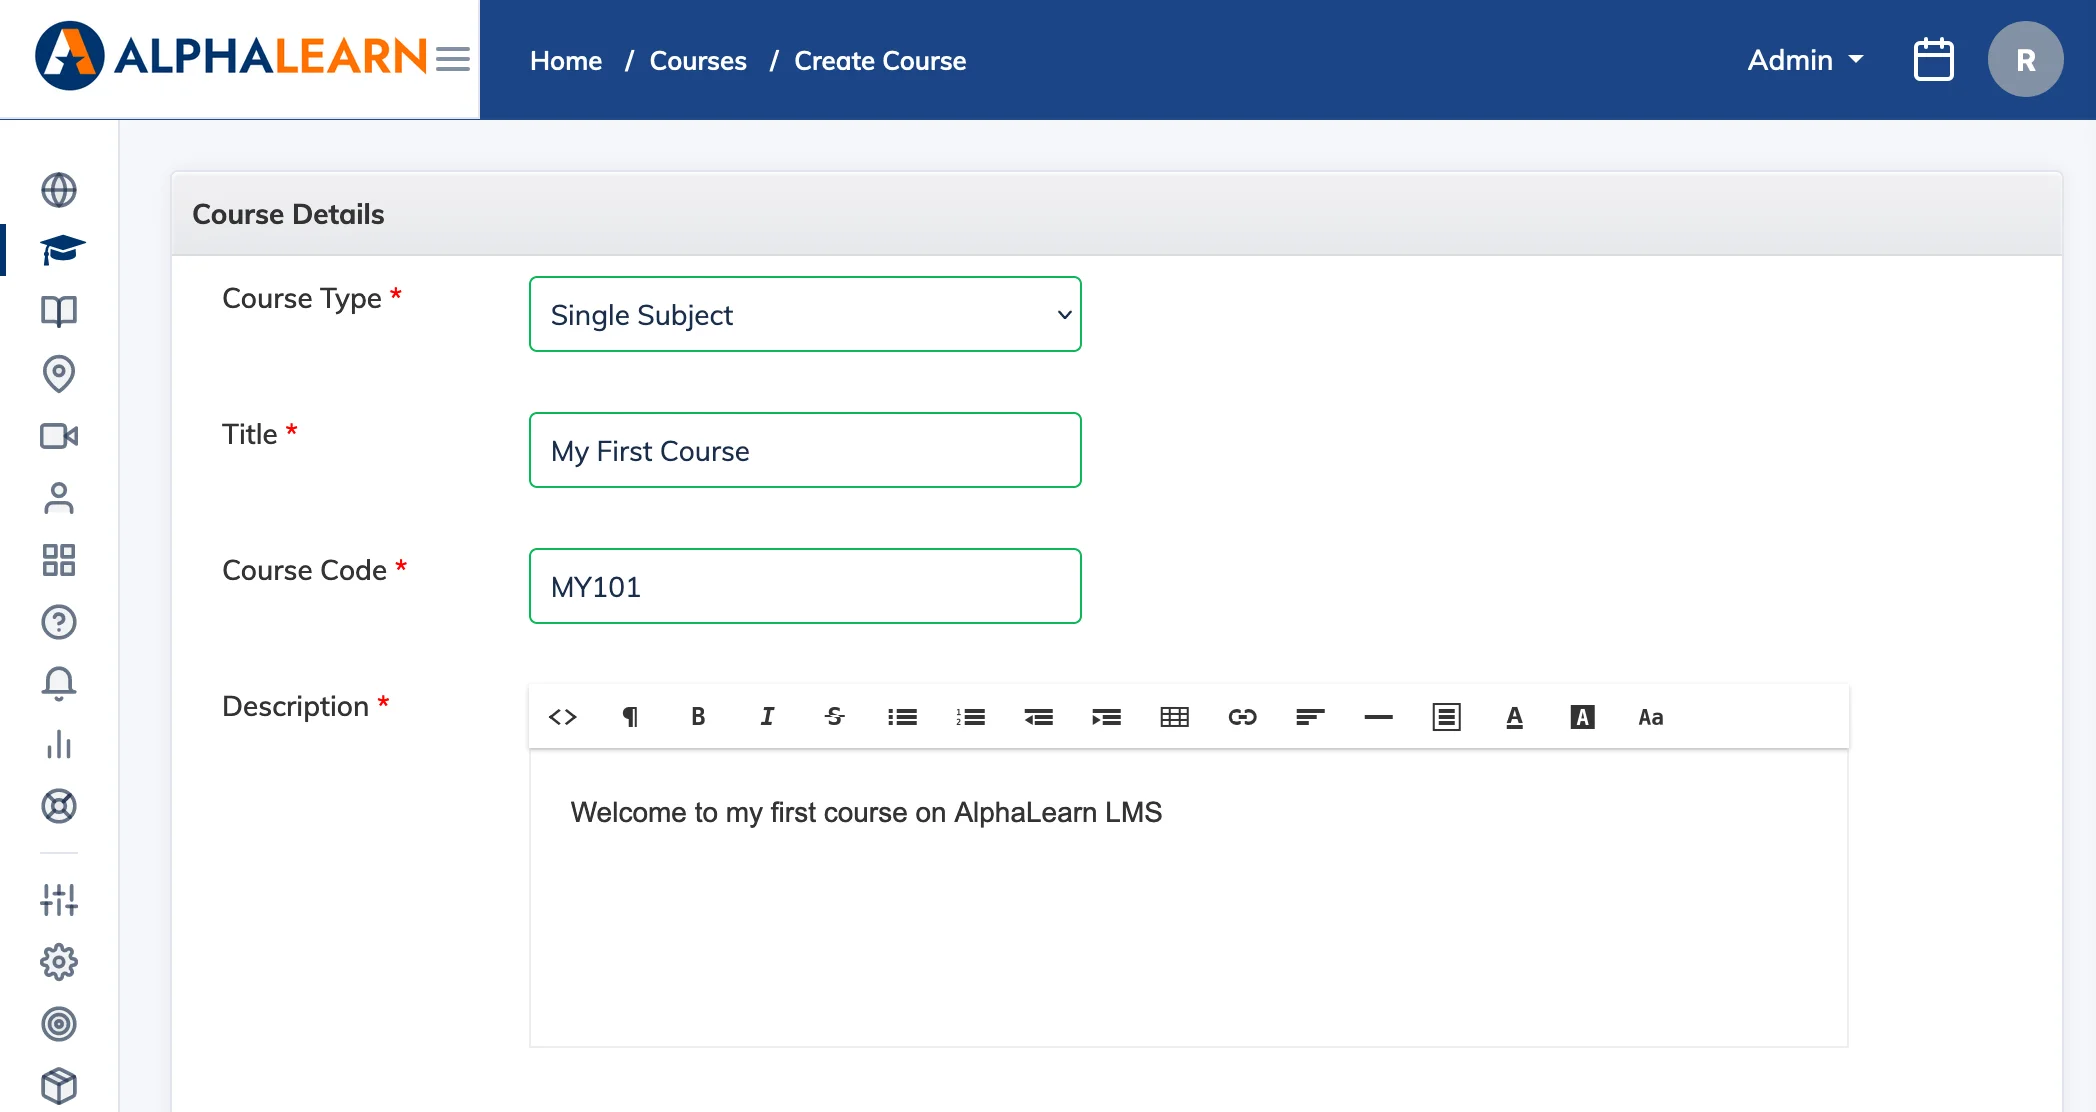
- Go to Courses in the navigation bar and click Add Course.
- Select a Course Type – Single Subject or Multiple Subject.
- Fill in the required details – Title, Code, Duration, etc. – and click Submit. The course will appear in your Course list.
Tip: Set the course Status to Disabled while you are still adding content. Switch to Active only when the course is ready for enrollment.
Step 2: Add Modules and Content
- Open the newly created course and click Add Chapter/Module. Enter a name and click Save.
- Click on the module you just added, then click Add Content to upload learning material.
- Supported formats include: HTML, PDF, Video, DOC/DOCX, PPT/PPTX, XLS/XLSX, Image, Assignment, Practice Test, Poll, Survey, Link, SCORM, and more. See the full list of supported content types.
Step 3: Enroll Trainees
Once your content is uploaded and the course is set to Active, you can register your Trainees and enroll them to the course.