Single sign-on (SSO) is an authentication process that allows users to access multiple applications with one set of login credentials. This article can guide you step by step to configure Microsoft Entra ID (Azure AD) as an identity provider using SAML to enable SSO.
- Login to Microsoft Entra as an Administrator
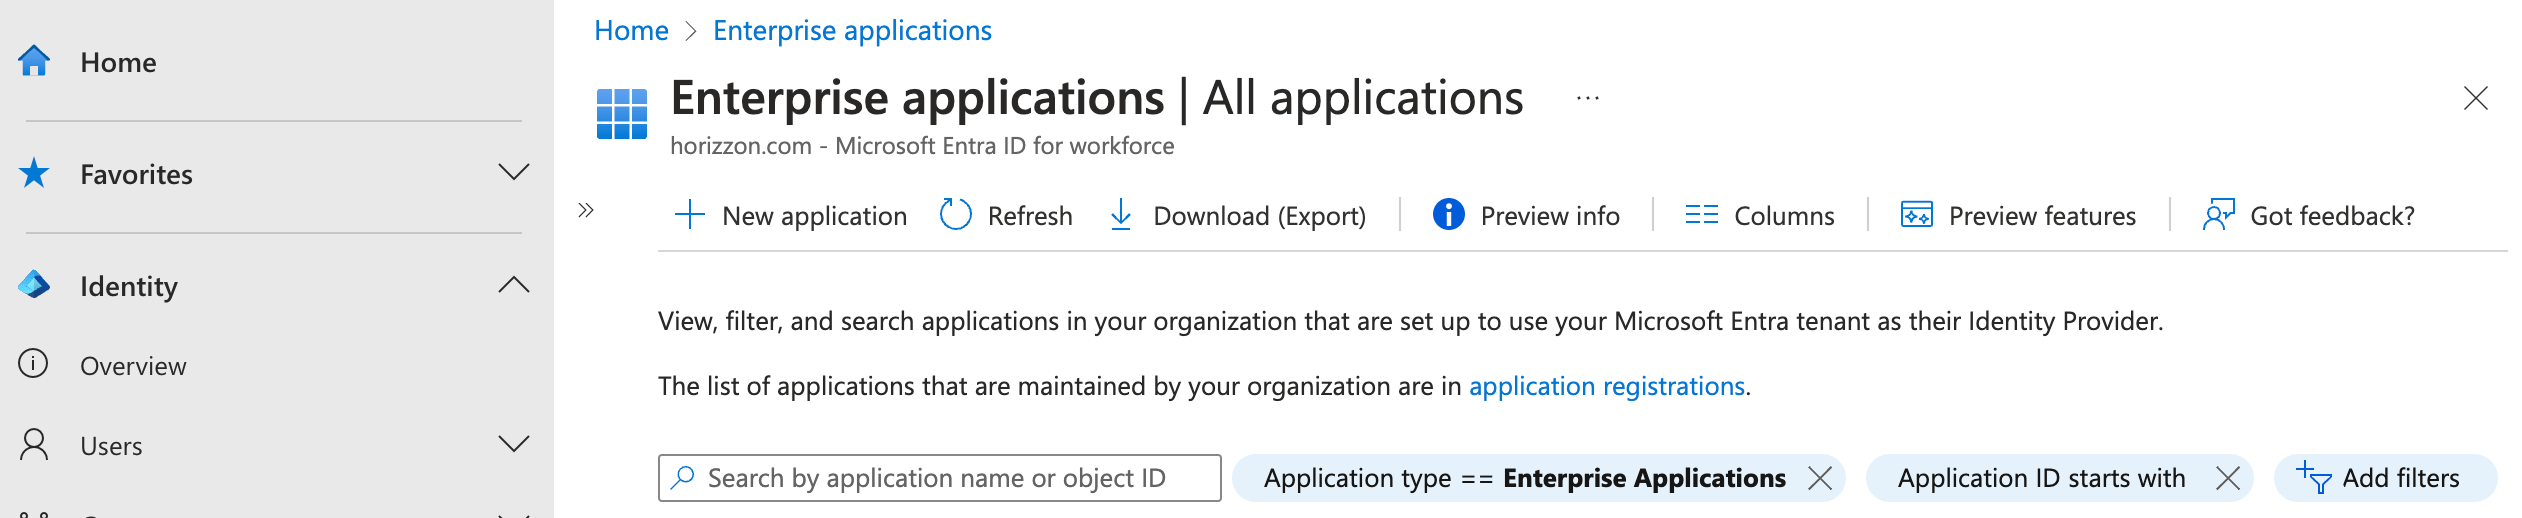
- In the left navigation menu, under Applications, click Enterprise applications then click New Application
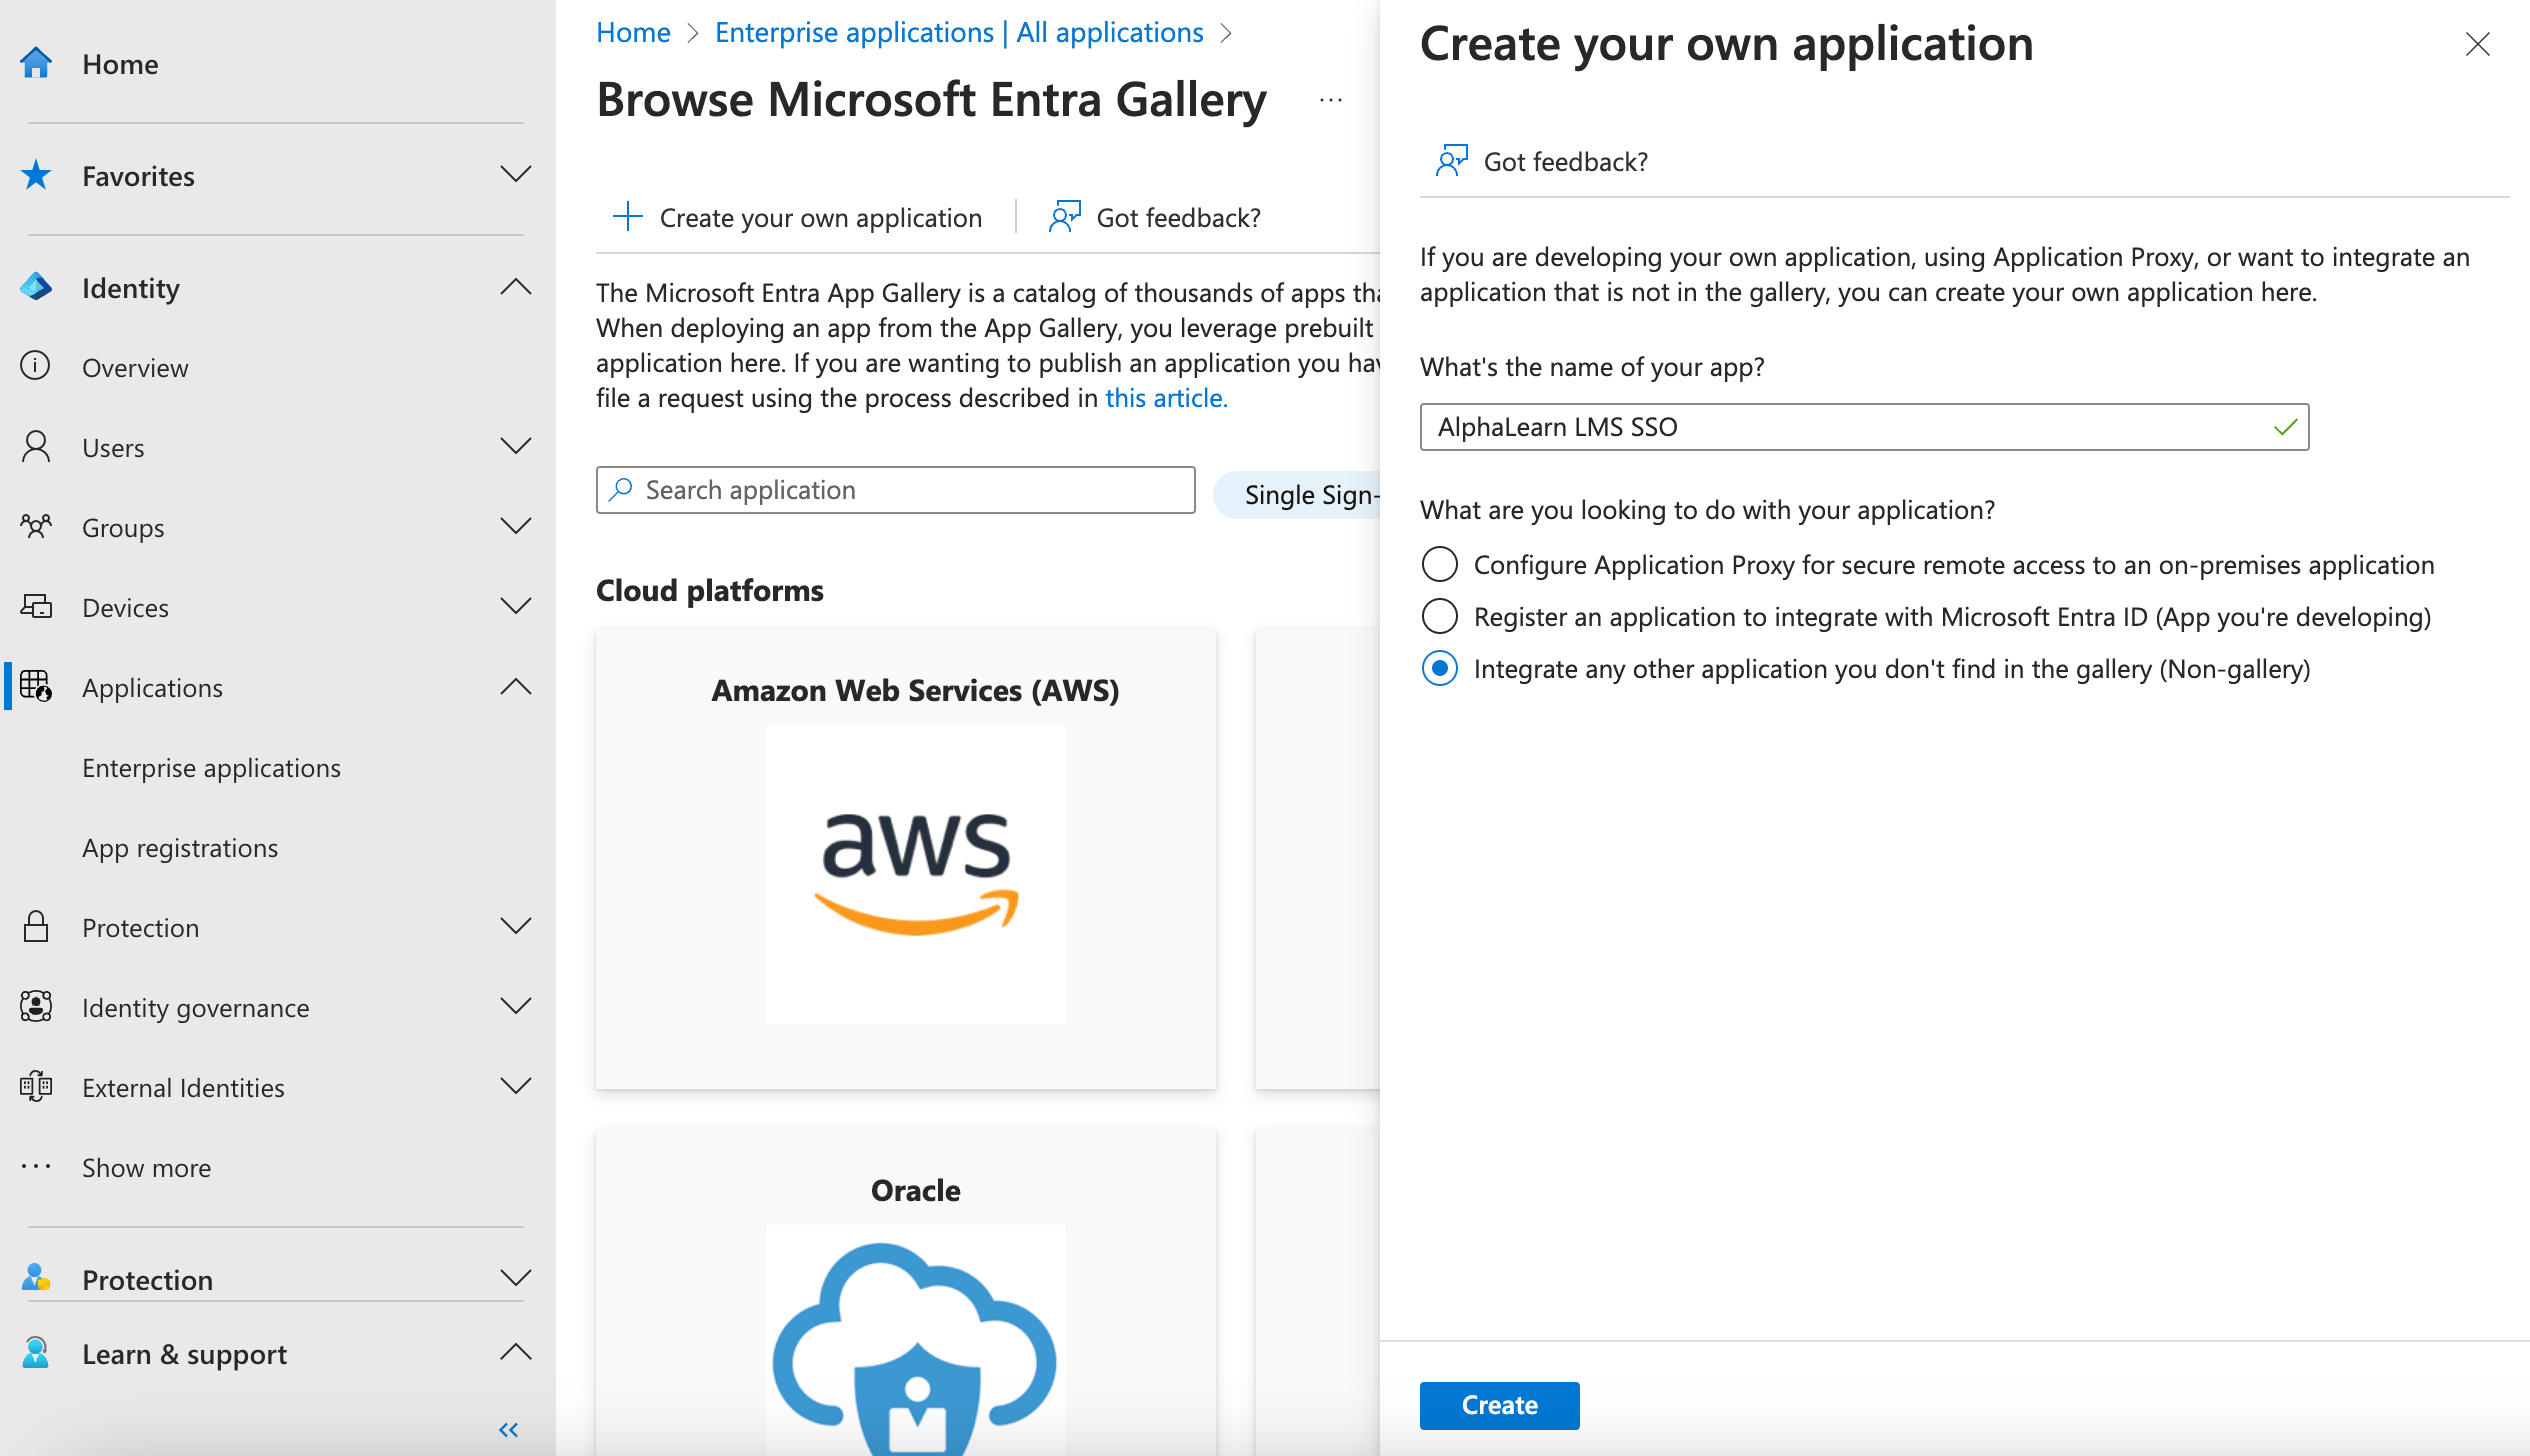
- Click Create your own application → Give your application a meaningful name like AlphaLearn LMS SSO → then select the last radio button Integrate any other application you don’t find in the gallery (Non-gallery) → Click Create
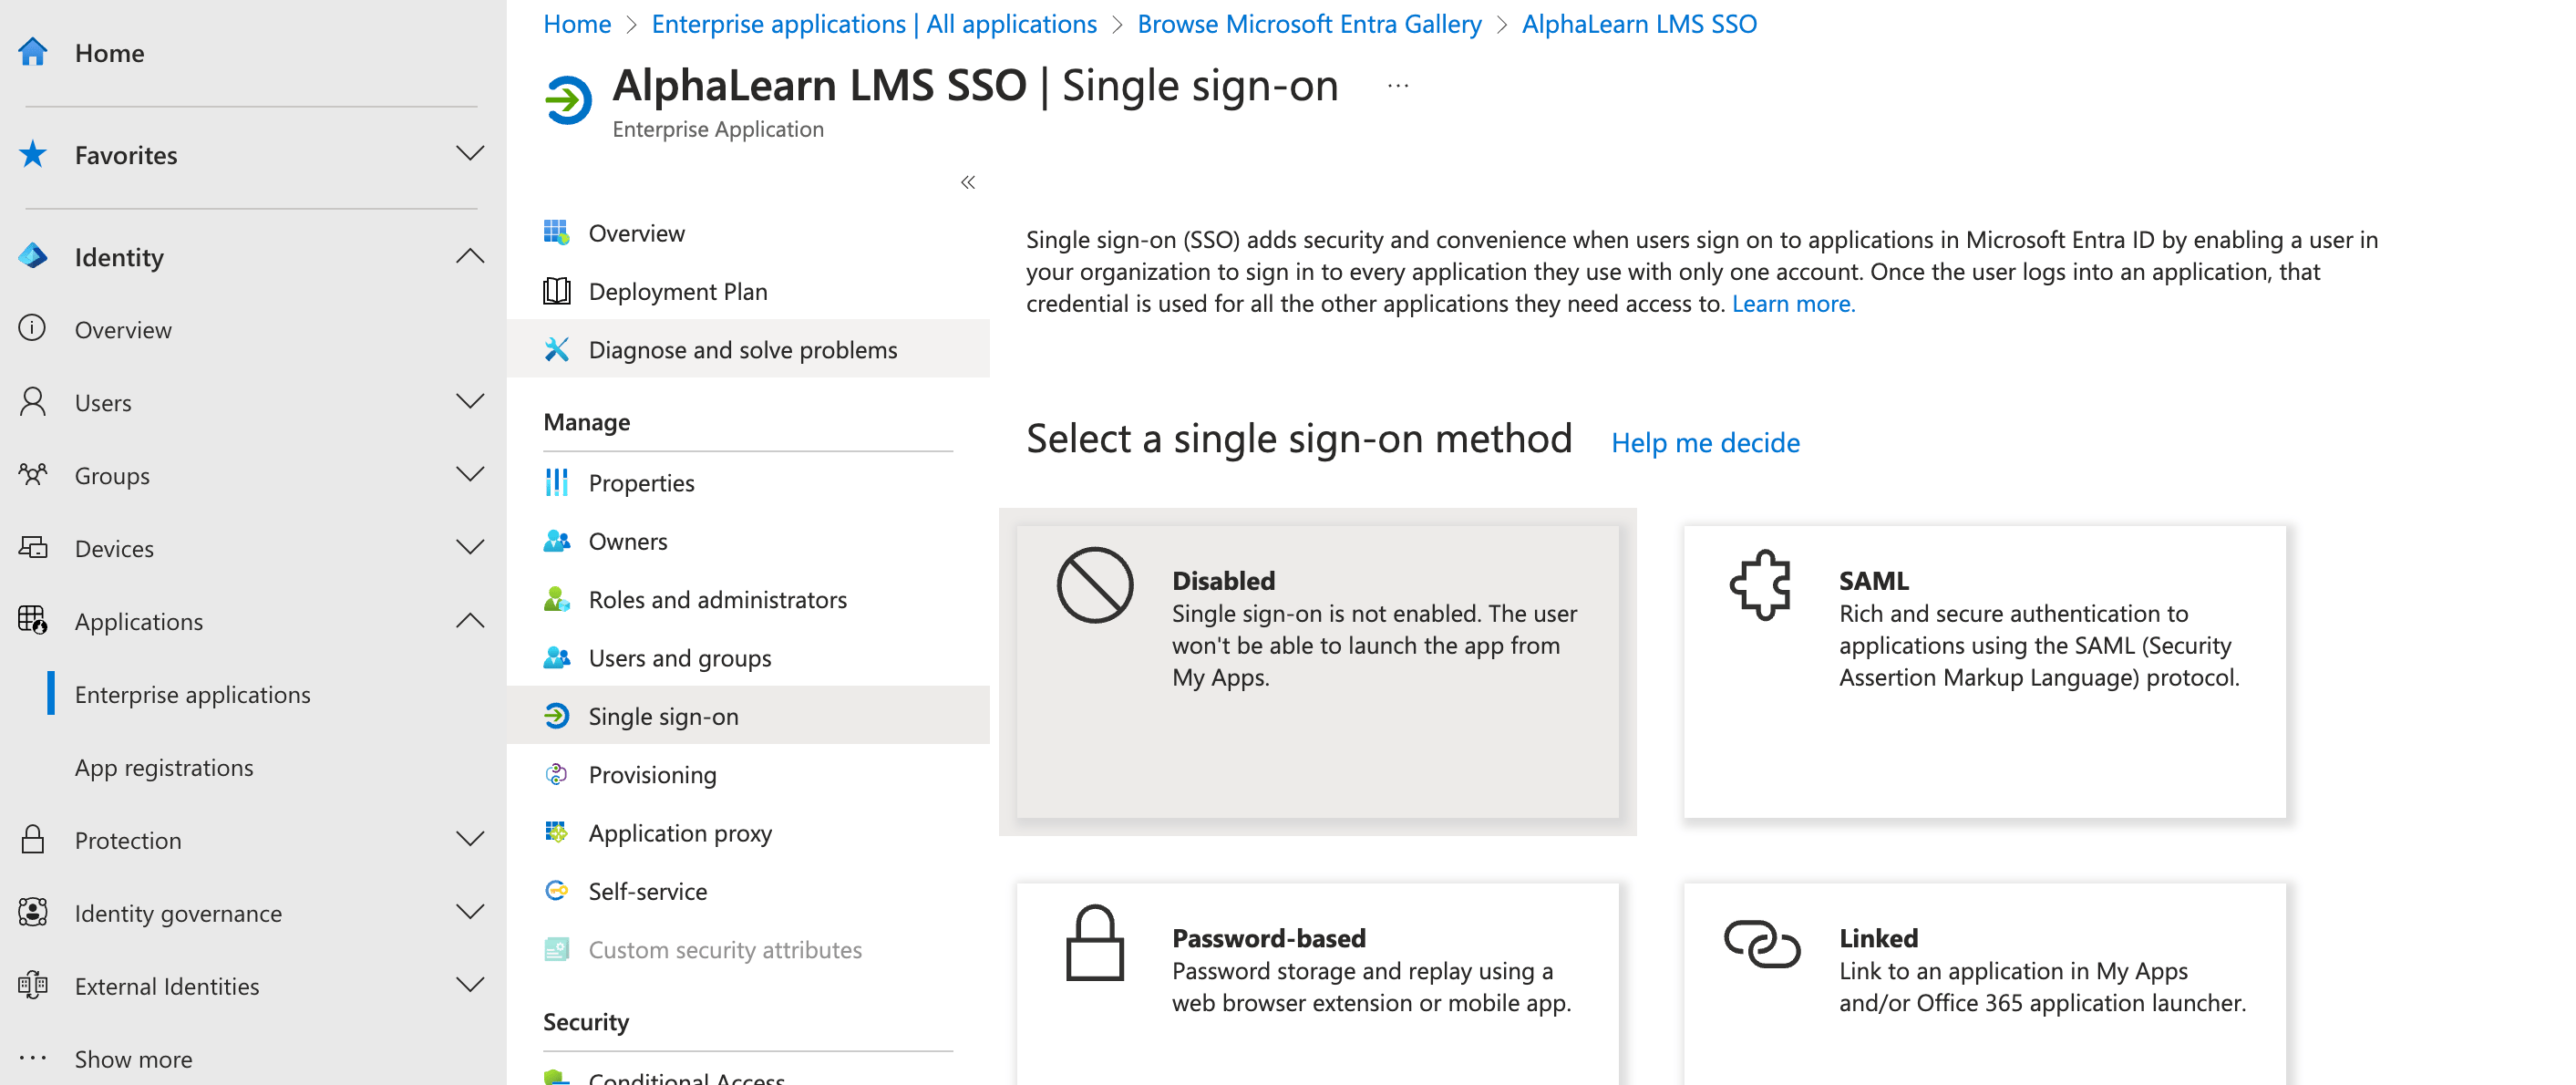
- In the resulting screen click Single Sign-on → then select SAML as the single sign-on method
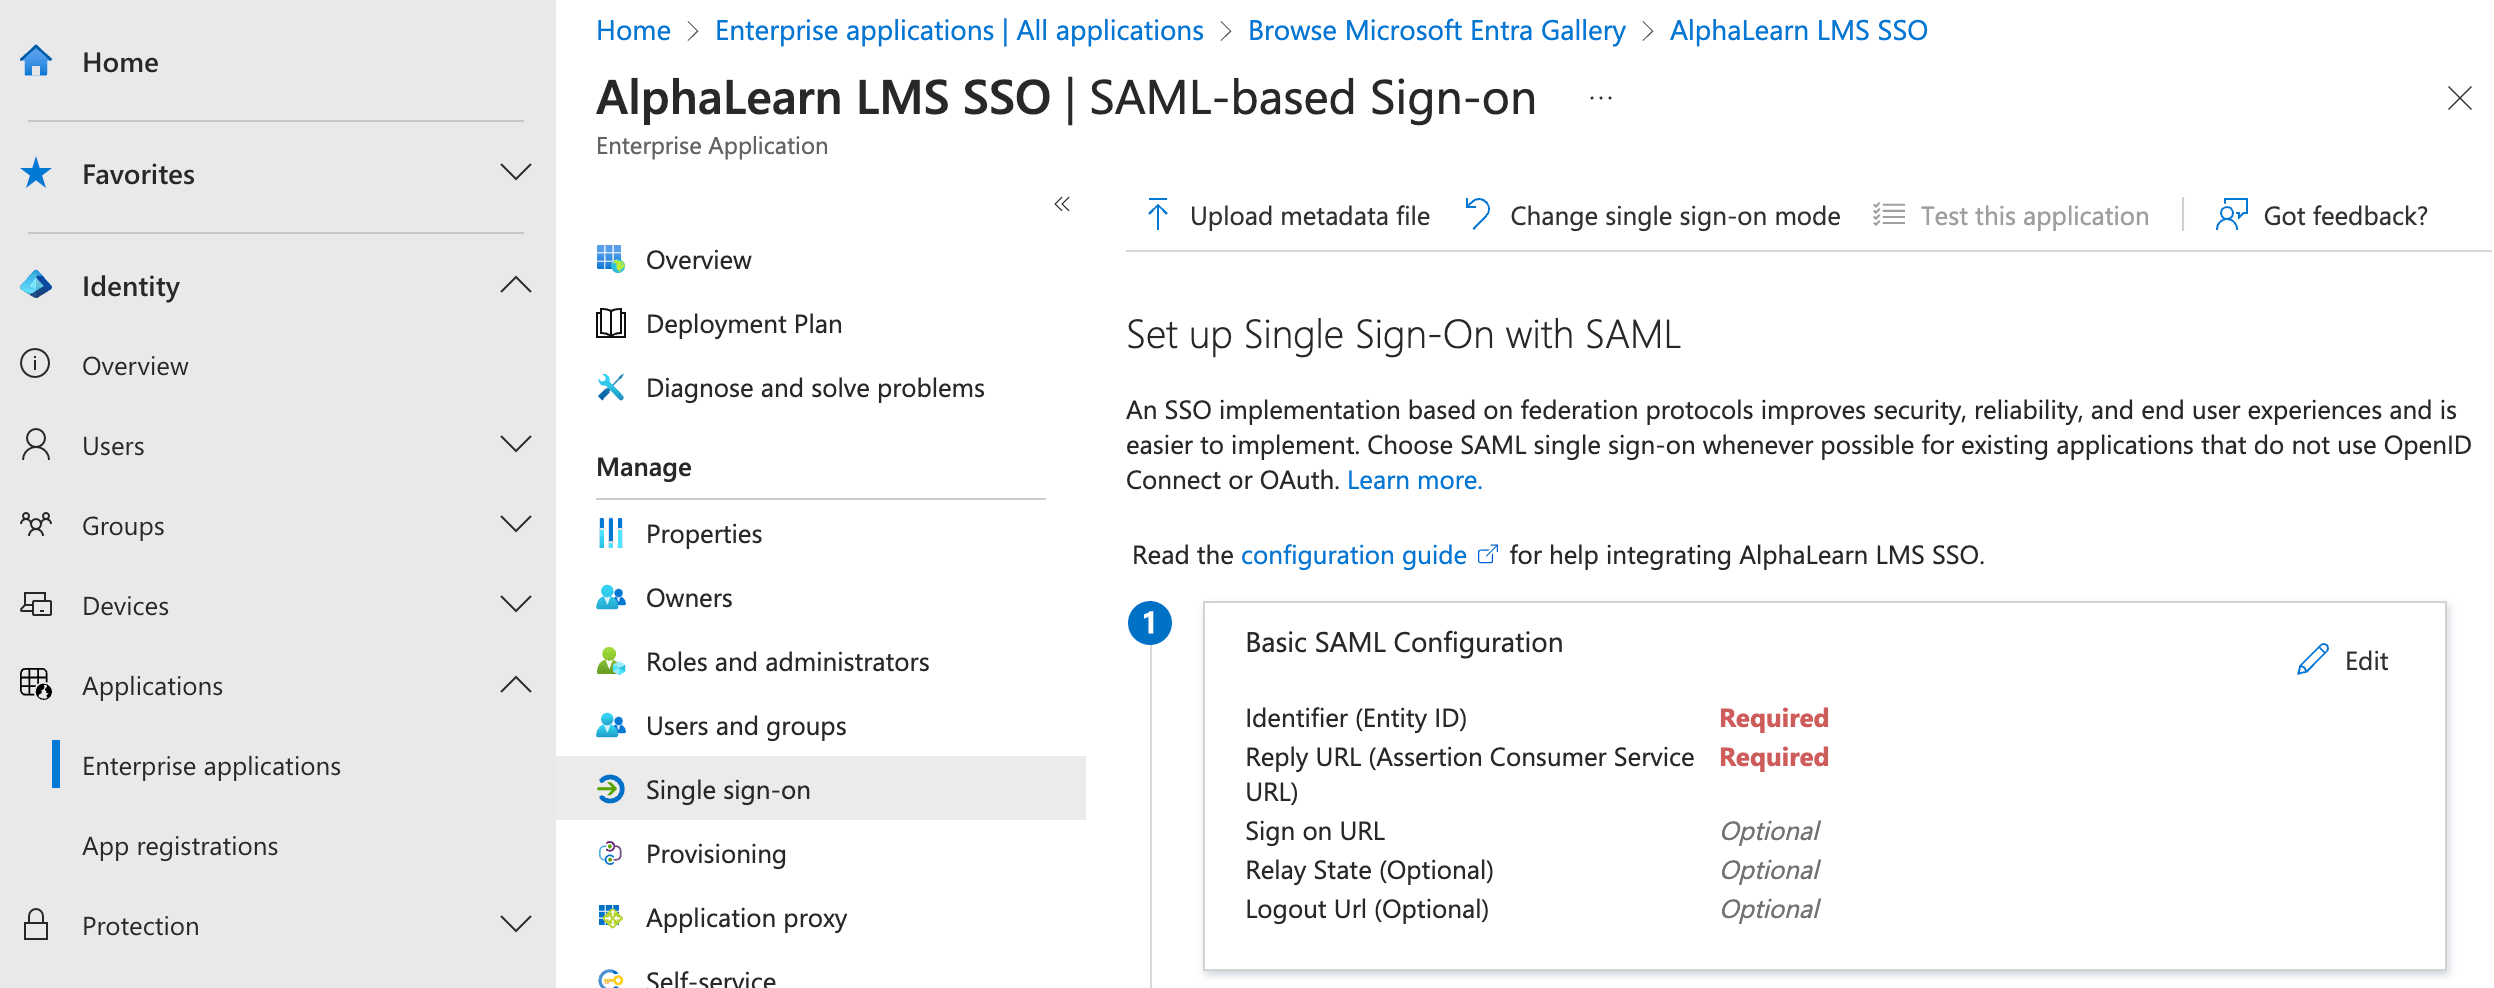
- In the Basic SAML Configuration page of SAML click Edit and enter the below details:
- Identifier (Entity ID) → Add identifier → this URL can be found in the LMS → Customize → SSO → SAML – Microsoft Entra ID (Azure AD) → Config Details → Audience
- Reply URL (Assertion Consumer Service URL) → this URL can be found in the LMS → Customize → SSO → SAML – Microsoft Entra ID (Azure AD) → Config Details → Recipient
- Sign on URL → this URL can be found in the LMS → Customize → SSO → SAML – Microsoft Entra ID (Azure AD) → Config Details → Login URL
- Relay State (Optional) → this URL can be found in the LMS → Customize → SSO → SAML – Microsoft Entra ID (Azure AD) → Config Details → Recipient
- Logout Url (Optional) → this URL can be found in the LMS → Customize → SSO → SAML – Microsoft Entra ID (Azure AD) → Config Details → Logout URL
- Click Save
- Then click Manage → Single Sign-on → Attributes & Claims → Edit → Add New Claim
- Name → email, Source Attribute → user.mail, Click → Save
- Name → fname, Source Attribute → user.givenname, Click → Save
- Name → lname, Source Attribute → user.surname, Click → Save
- Name → mobile, Source Attribute → user.mobilephone, Click → Save
- Under Manage section, click → Users and groups → Assign the users/groups to use single sign-on by granting access to AlphaLearn LMS.
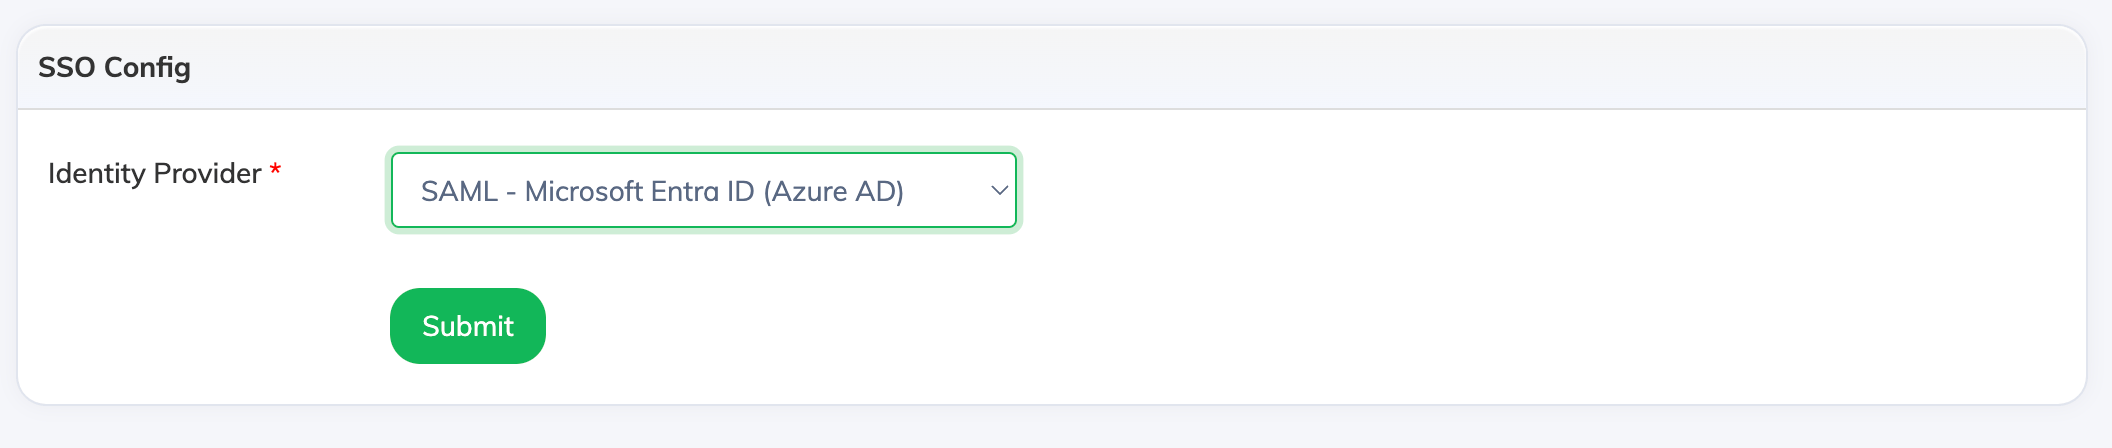
- Now as the Admin, login to AlphaLearn LMS then click Customize → SSO. Select Identity Provider as SAML – Microsoft Entra ID (Azure AD) → click Submit.
- Then click on SAML – Microsoft Entra ID (Azure AD) → Edit and enter the below details (these can be obtained from Microsoft Entra → Enterprise Application → AlphaLearn LMS SSO → Manage → Single Sign-on):
- In EntityID → Add Microsoft Entra Identifier
- In Single SignOn Service → Add Login URL
- In Single Logout Service → Add Logout URL
- In Signing Cert → add details visible in Certificate (Base64) which can be downloaded and opened in a text editor
- Change the Status to Active and click Update to complete the Microsoft Entra ID SSO integration

Note: Your Custom URL login page will now feature a Continue with Microsoft Entra ID button, as shown below.
