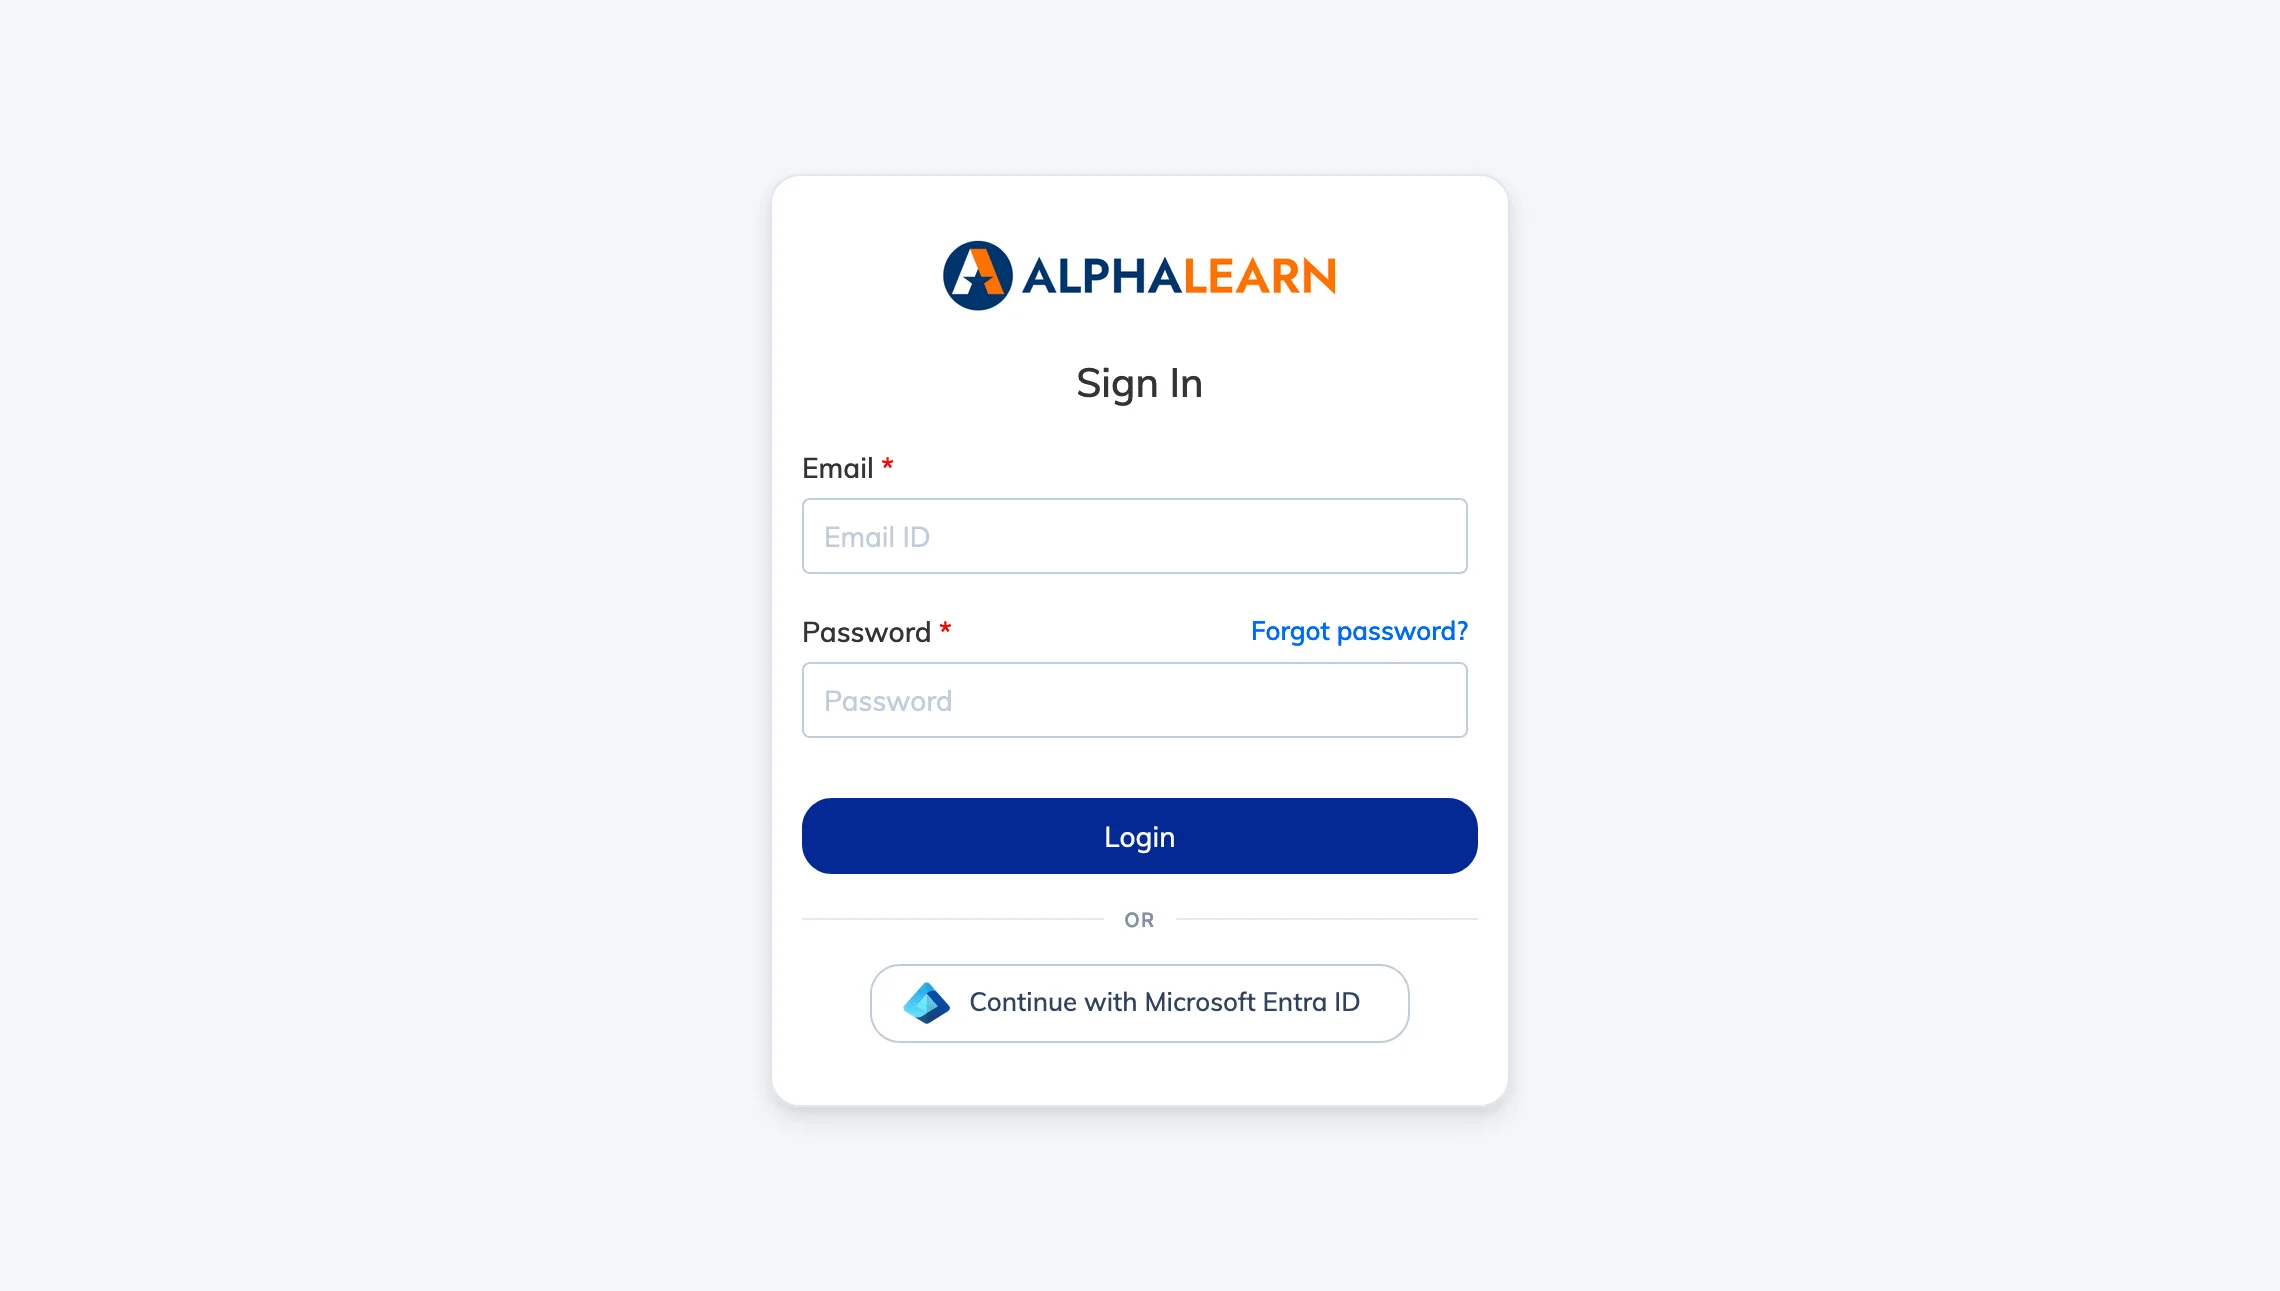
This guide walks you through configuring Microsoft Entra ID (Azure AD) as a SAML identity provider for AlphaLearn LMS, enabling your users to log in with their existing Microsoft credentials.
Step 1: Create a New Enterprise Application in Microsoft Entra
- Log in to Microsoft Entra as an Administrator.
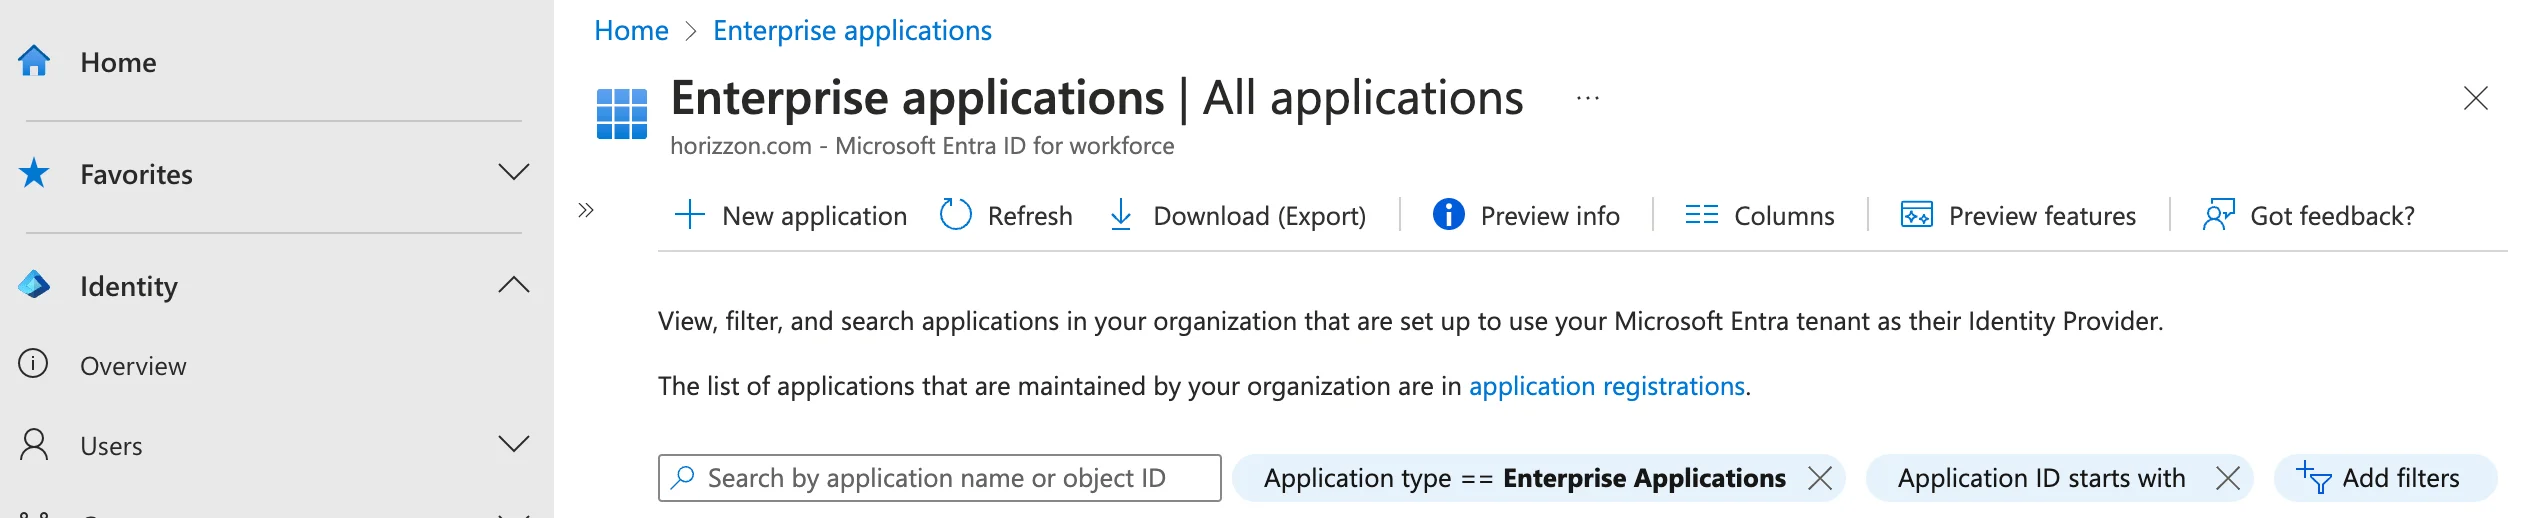
- In the left navigation, go to Applications → Enterprise Applications → New Application.
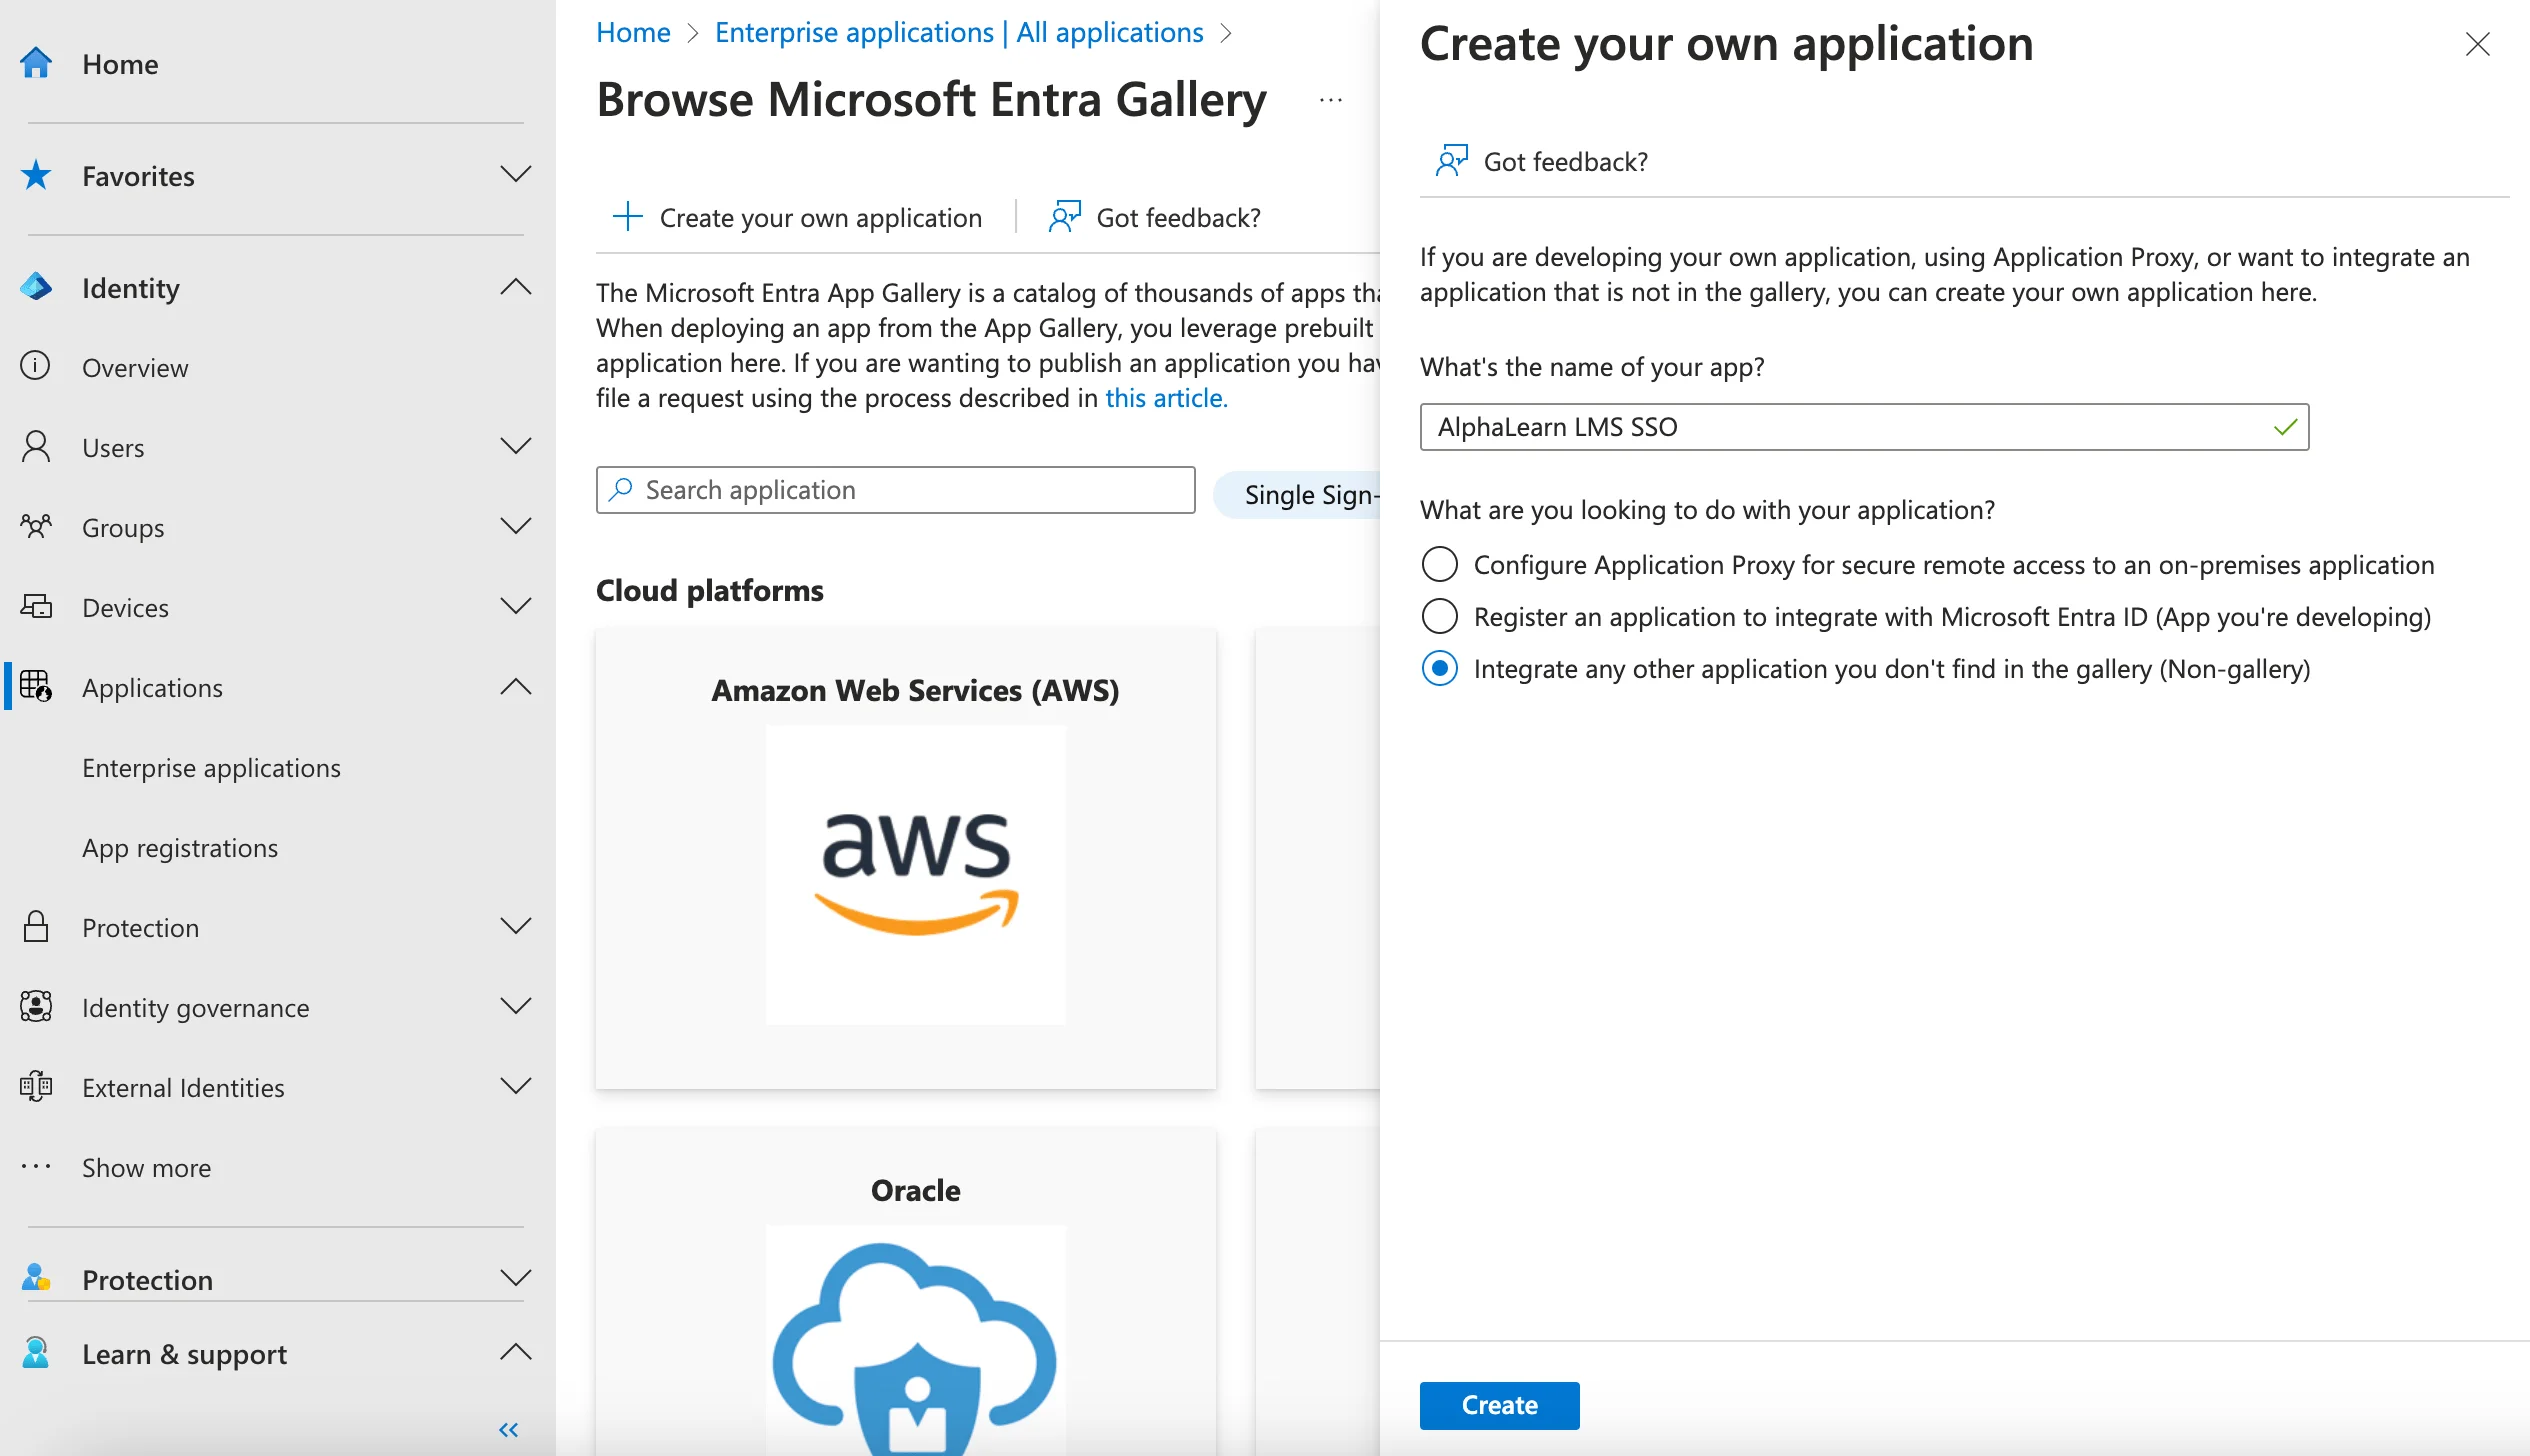
- Click Create your own application, give it a name (e.g. AlphaLearn LMS SSO), select Integrate any other application you don’t find in the gallery (Non-gallery), and click Create.
Step 2: Configure SAML
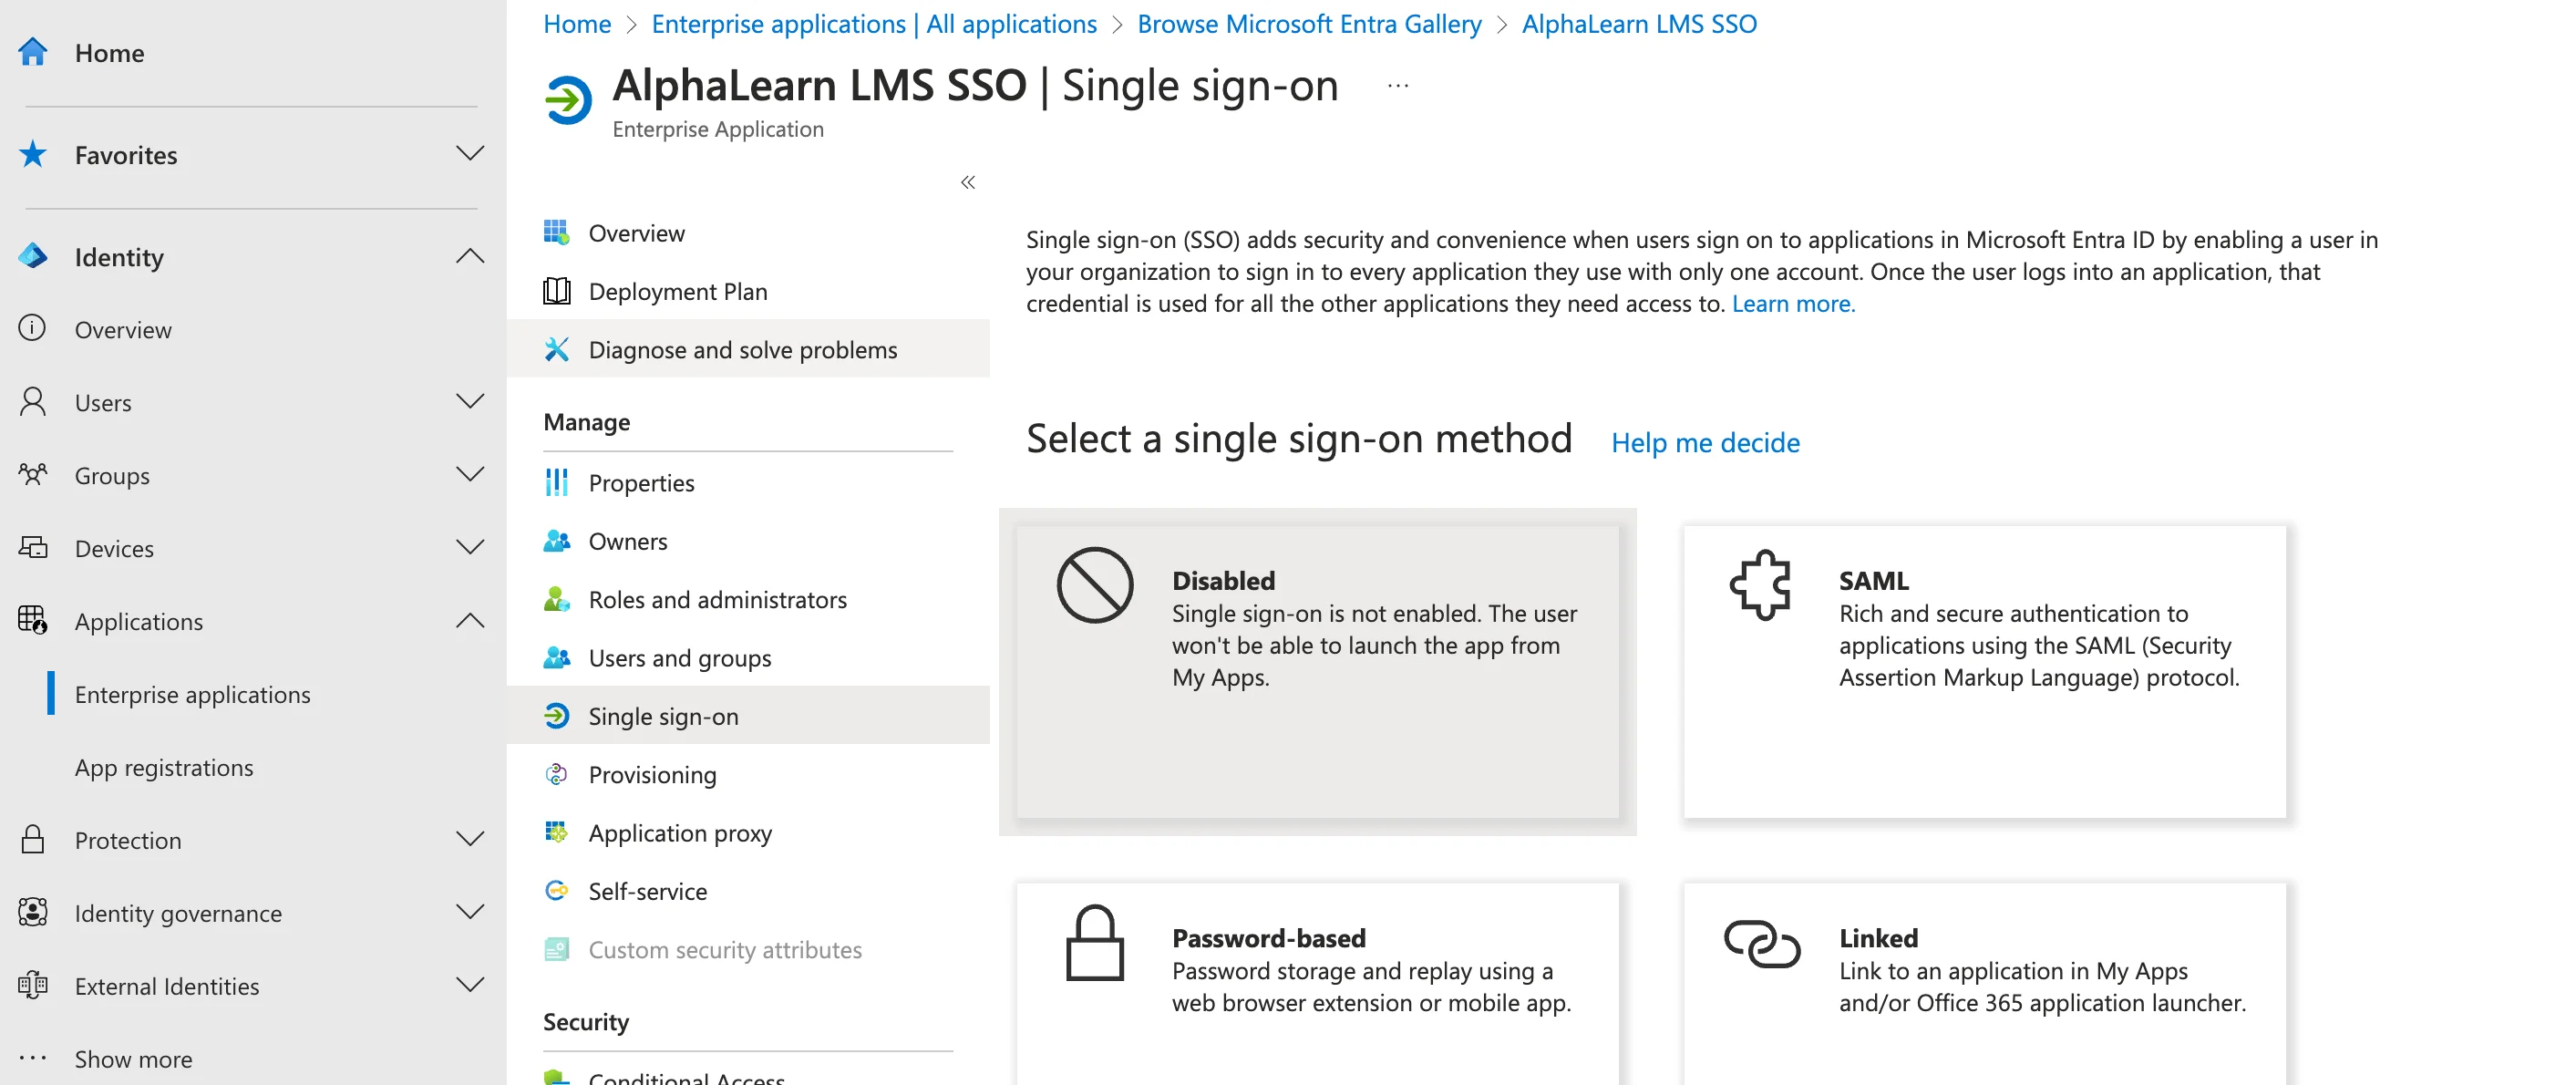
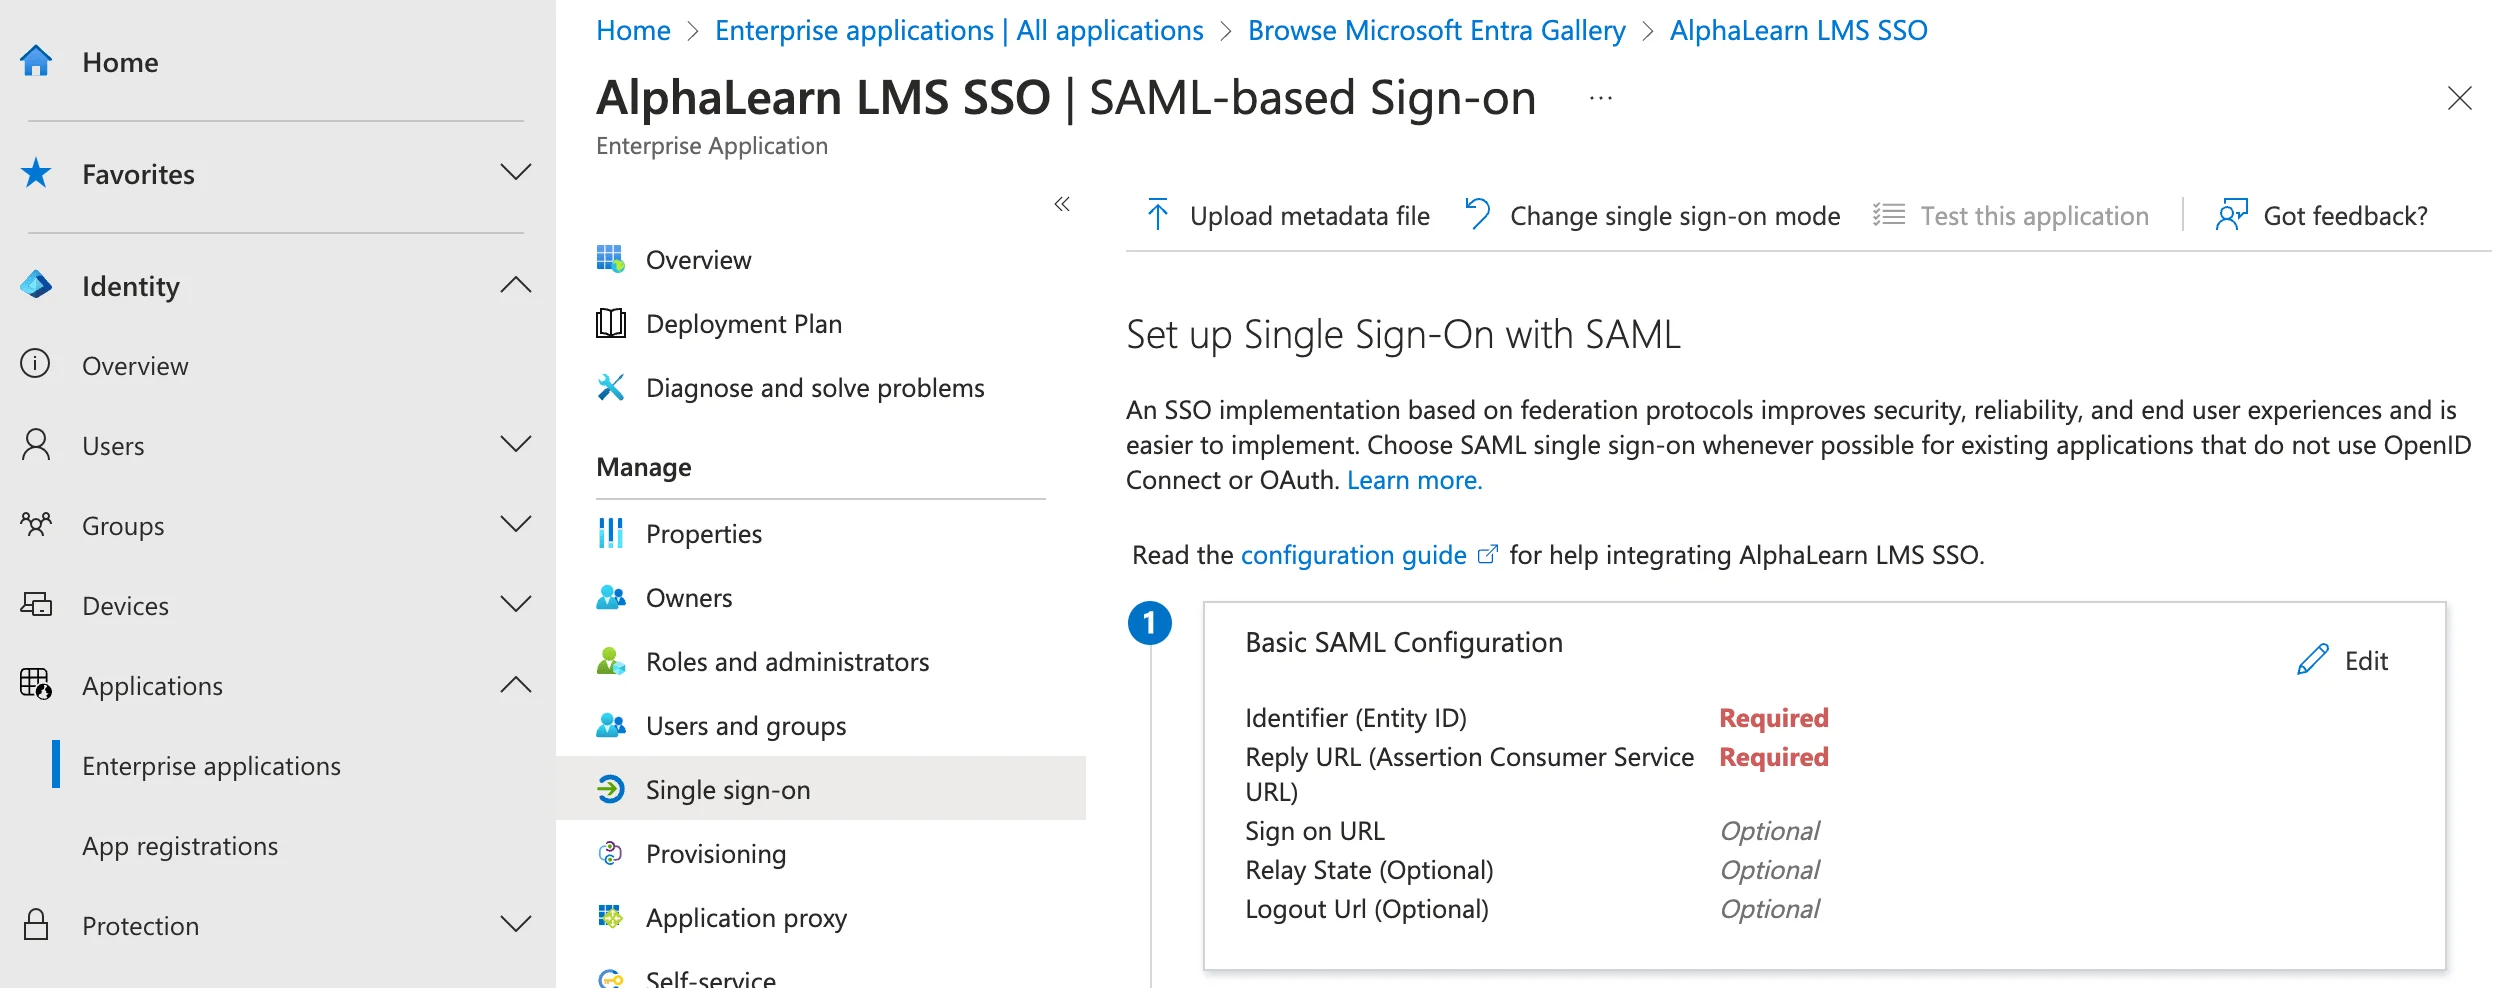
- In the application, click Single Sign-on and select SAML as the method.
- In the Basic SAML Configuration section, click Edit and enter the following values. All URLs are found in AlphaLearn under Customize → SSO → SAML – Microsoft Entra ID (Azure AD) → Config Details:
- Identifier (Entity ID) → Audience
- Reply URL (Assertion Consumer Service URL) → Recipient
- Sign on URL → Login URL
- Relay State (optional) → Recipient
- Logout URL (optional) → Logout URL
- Click Save.
Step 3: Configure Attributes and Claims
- Go to Manage → Single Sign-on → Attributes & Claims → Edit → Add New Claim.
- Add the following claims:
- email →
user.mail - fname →
user.givenname - lname →
user.surname - mobile →
user.mobilephone
- email →
- Click Save after each claim.

Step 4: Assign Users
Go to Manage → Users and Groups and assign the users or groups who should be able to use SSO to log in to AlphaLearn LMS.
Step 5: Enable SSO in AlphaLearn
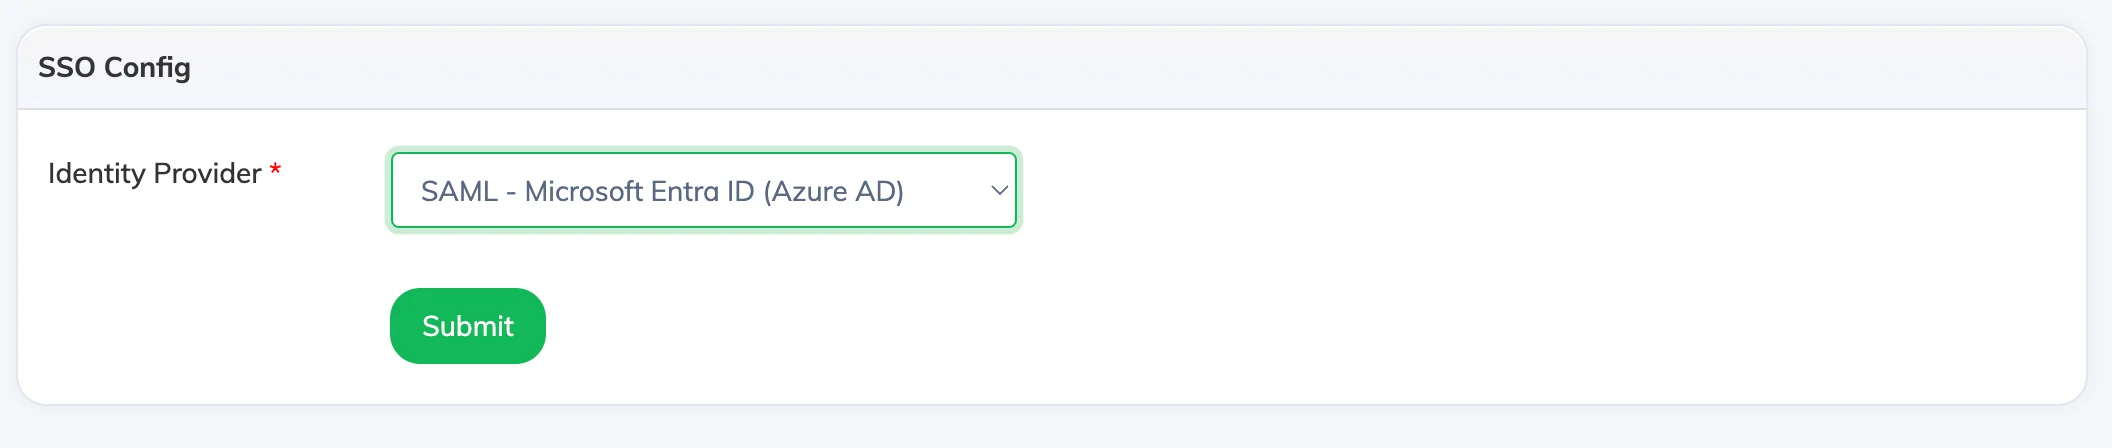
- In AlphaLearn, go to Customize → SSO.
- Select SAML – Microsoft Entra ID (Azure AD) as the Identity Provider and click Submit.
- Click on SAML – Microsoft Entra ID (Azure AD) → Edit and enter the following values from Entra (Enterprise Applications → AlphaLearn LMS SSO → Manage → Single Sign-on):
- Entity ID → Microsoft Entra Identifier
- Single Sign-On Service → Login URL
- Single Logout Service → Logout URL
- Signing Cert → contents of the downloaded Certificate (Base64) file (open in a text editor and paste the full content)
- Set the Status to Active and click Update.
Done: Your LMS login page will now show a Continue with Microsoft Entra ID button, allowing users to sign in with their Microsoft credentials.